
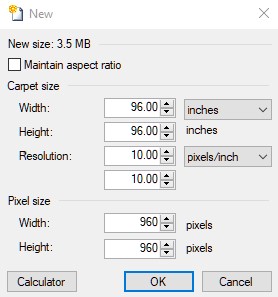
- Create a new file with the required size.
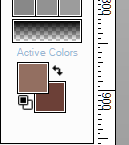
- Select the lightest color of the needed gradient as primary color and darkest as the secondary color.
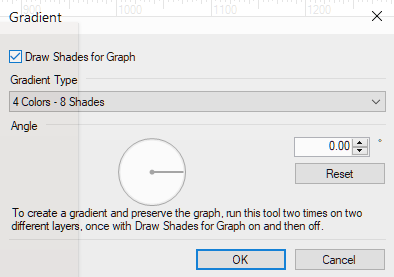
- Go to CarpeTools>>Create>>Gradient.

- Add a new layer, create a gradient effect with the same type and check the box for shades of the graph.
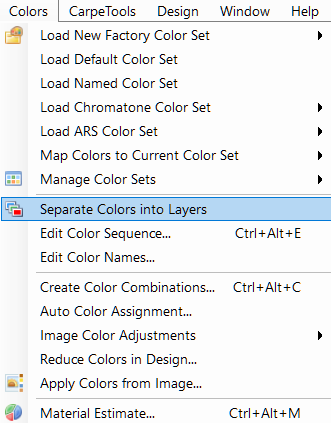
- Using a color tool, separate all the colors into layers.
- Delete the gradient with a shades layer.
- Select the first color from the color layer and copy the selected area from the created gradient and paste it on the color layer.
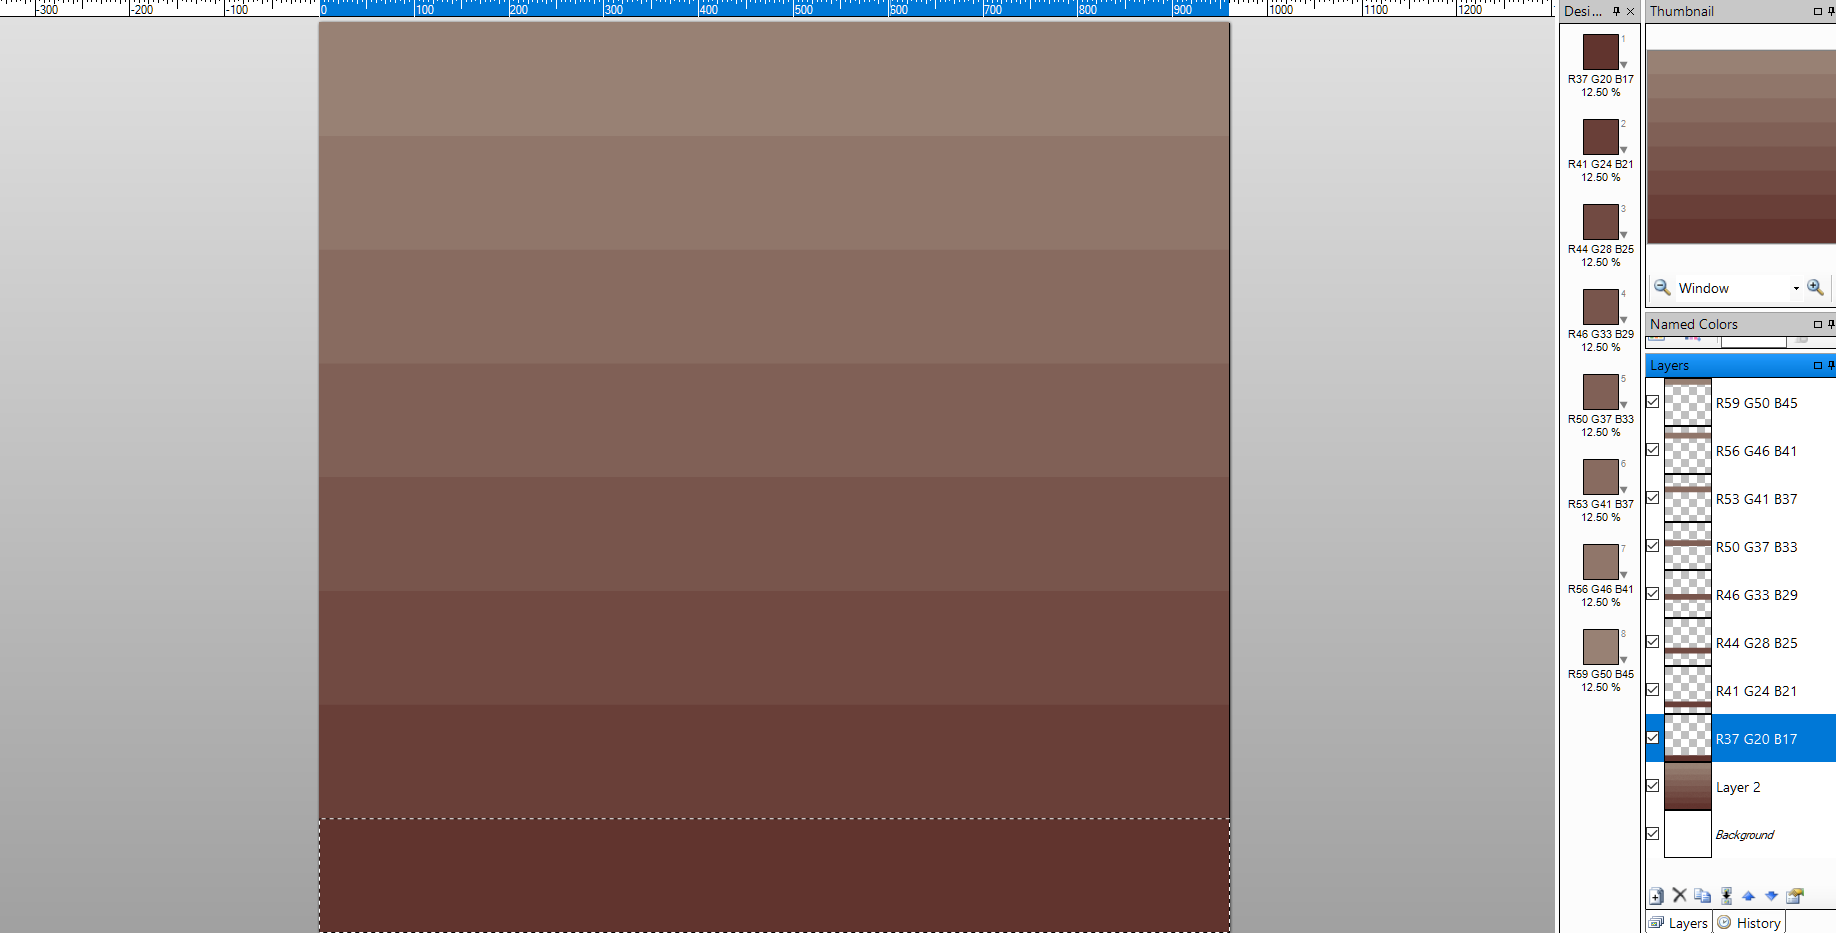
- Now, Replicate
 >>All over and repeat the selected area all over.
 - Repeat the process for all colors.
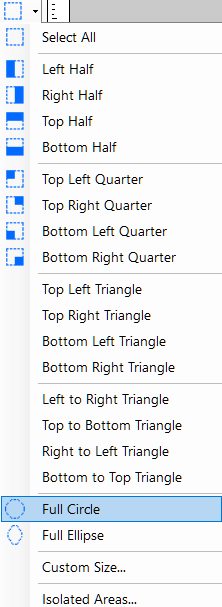
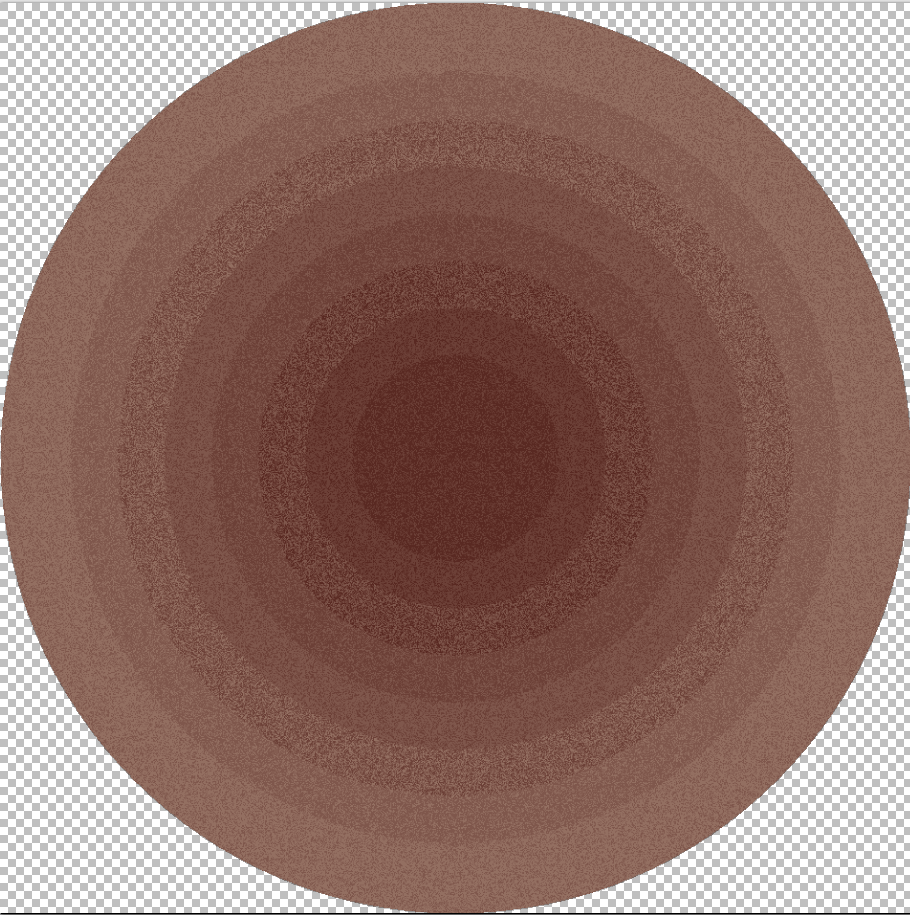
- Create a new layer and select a full circle.
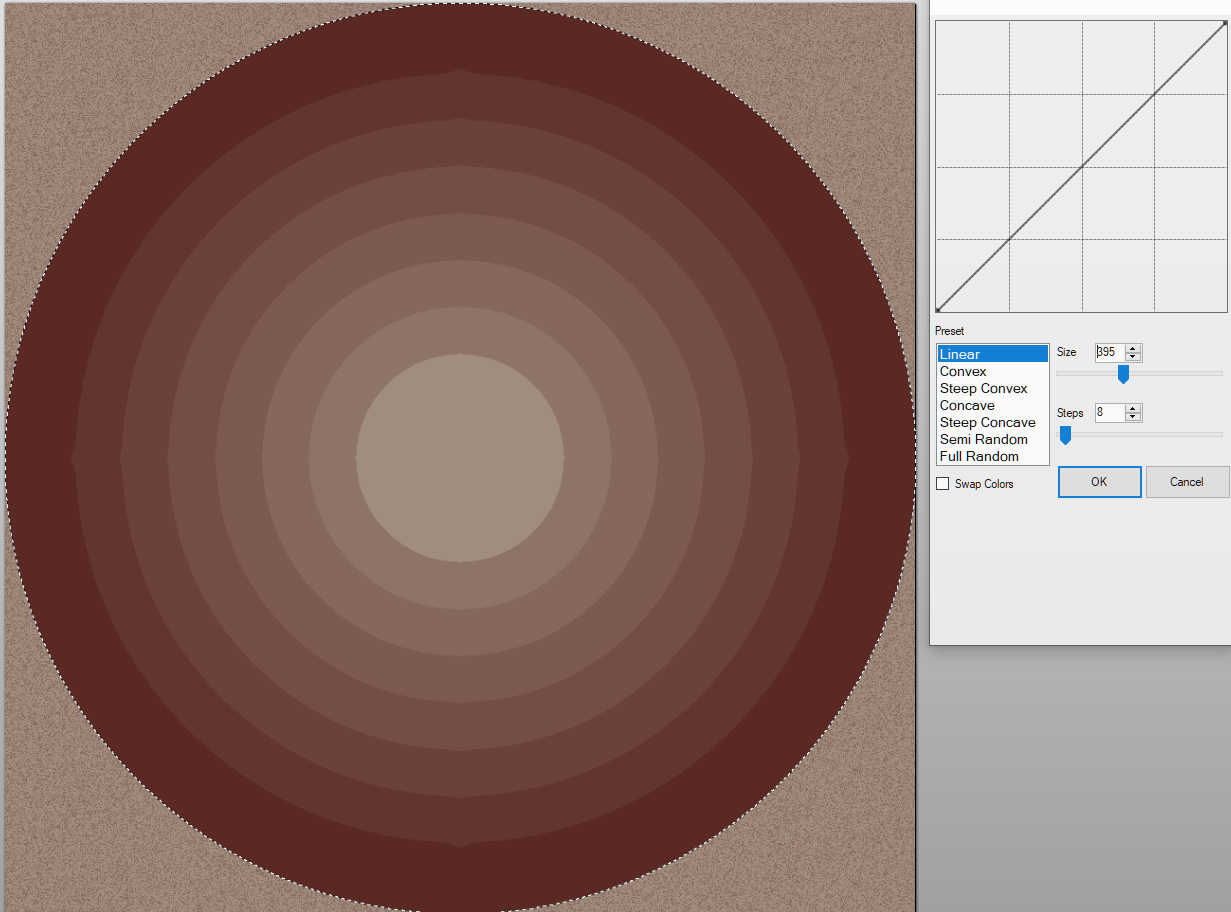
- Go to CarpeTool to create the selection gradient with 8 steps and size of approximately 395.
- Select the corner color of the circle as shown in the picture below, go to the lightest shade of the gradient and click Ctrl+I to deselect the area and press delete.
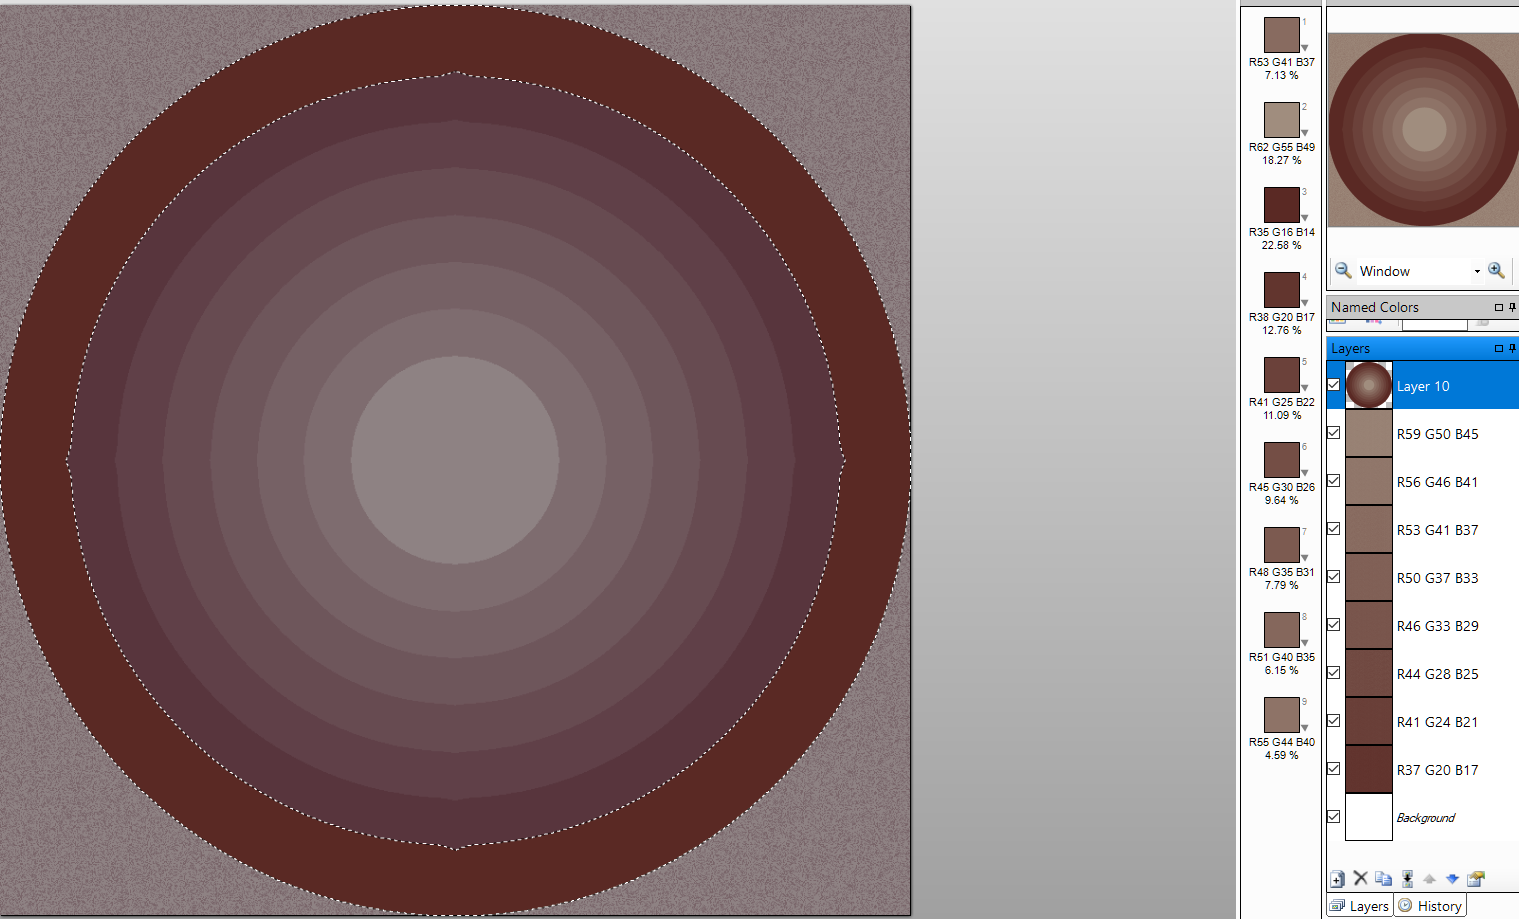
- Repeat the process simultaneously (going from end to the center of the circle) to create a Radial gradient effect with four colors.
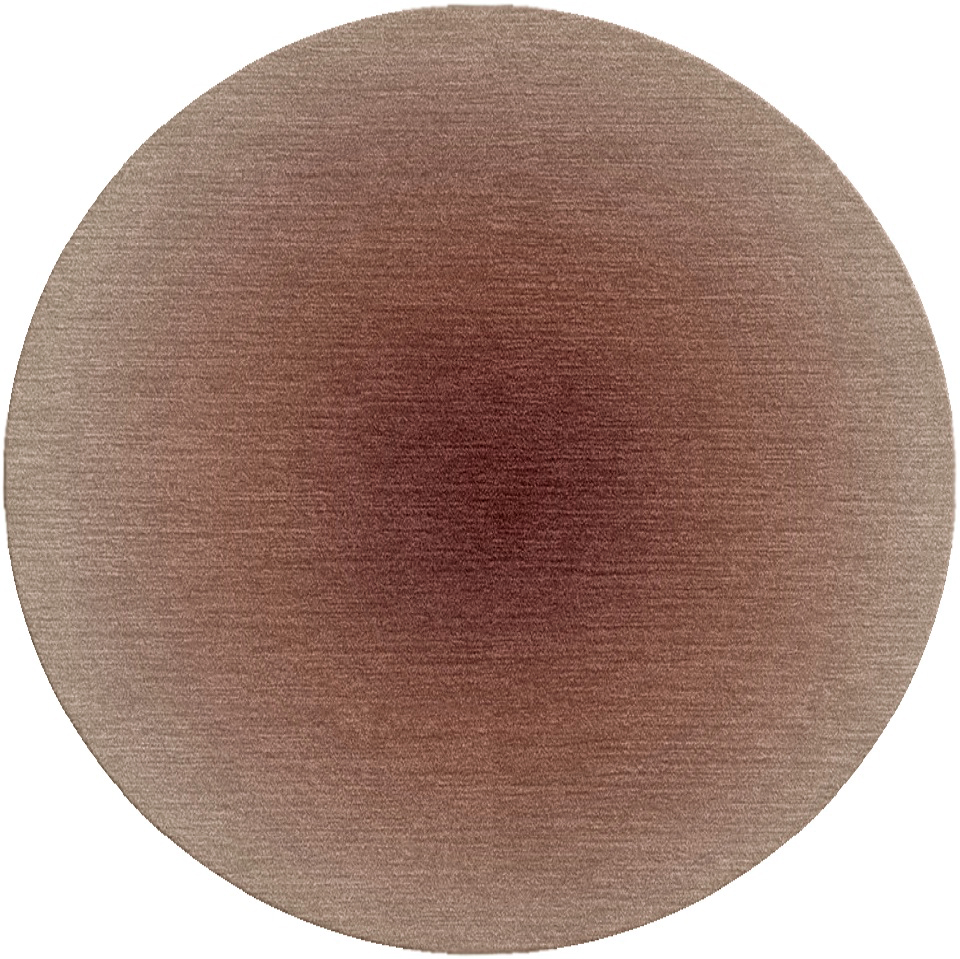
- Here's the final result in visualization.
Comments
0 comments
Please sign in to leave a comment.